We’ve had the pleasure of meeting Carl Endres AKA Technomagus (his handle on Discord and Youtube) at multiple events at our home store (The Comic Book Store in Glassboro, NJ) and around the Maryland area, where Carl has a great group of excellent players, especially at his home store (Games and Stuff in Glen Burnie, MD, which is probably the nicest tabletop gaming store I’ve ever seen).
In addition to just being a great guy to talk to, Carl is also extremely adept at TFTCG, especially with some of the nuances related to exact timing and triggers. In addition to frequently posting in the Facebook group, on Discord, and on various YouTube videos, you probably know Carl best from creating the “Secret Sentinels” deck, which began as General Optimus, Sentinel Ironhide, and Sentinel Prowl, which can then quickly shift into a straight up Sentinels list by swapping in Sentinel Optimus Prime.
While at our local event this past weekend, he ran Frenchie through his version of a Daring Escape deck, using Sergeant Springer, Sergeant Chromia, and Private Red Heat. The deck list and the article you see below were completely Carl’s work and he deserves ALL credit for it. We’re merely sharing it out. If you’re in the Maryland area, please make sure to check out their regional Facebook group.
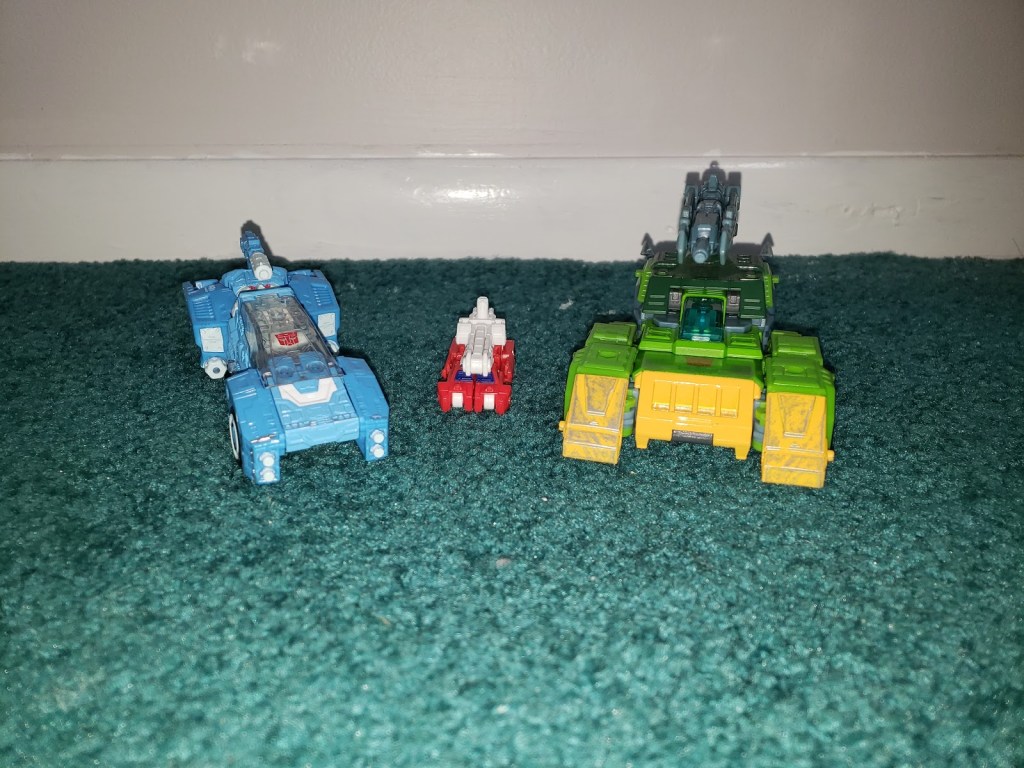
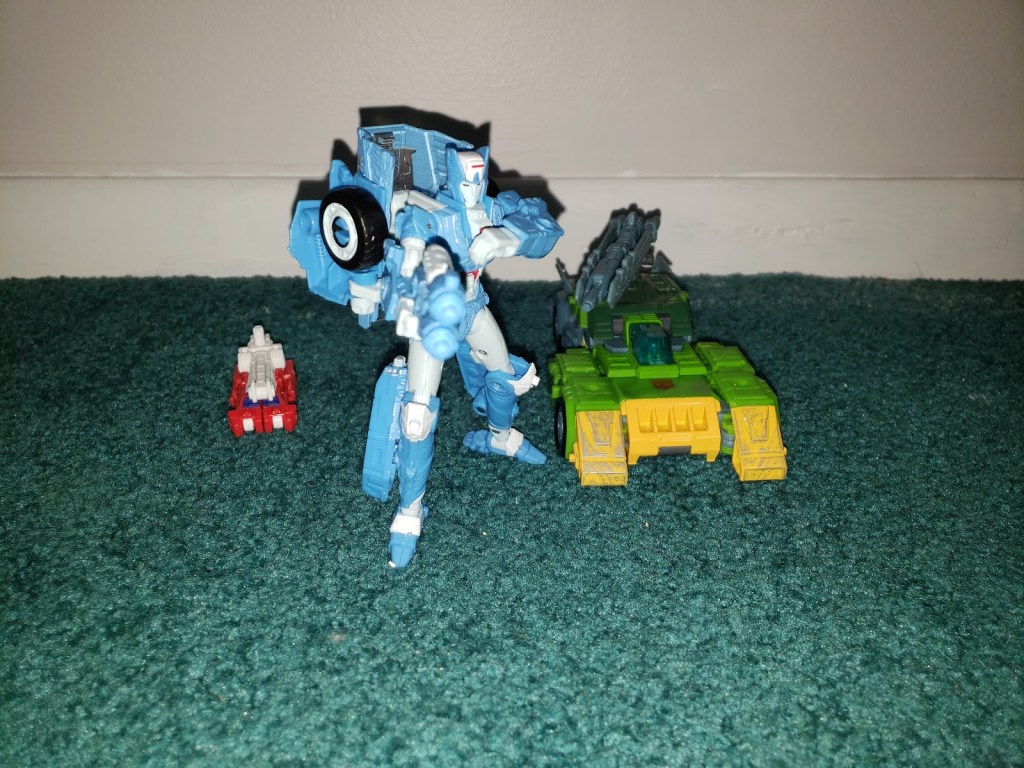
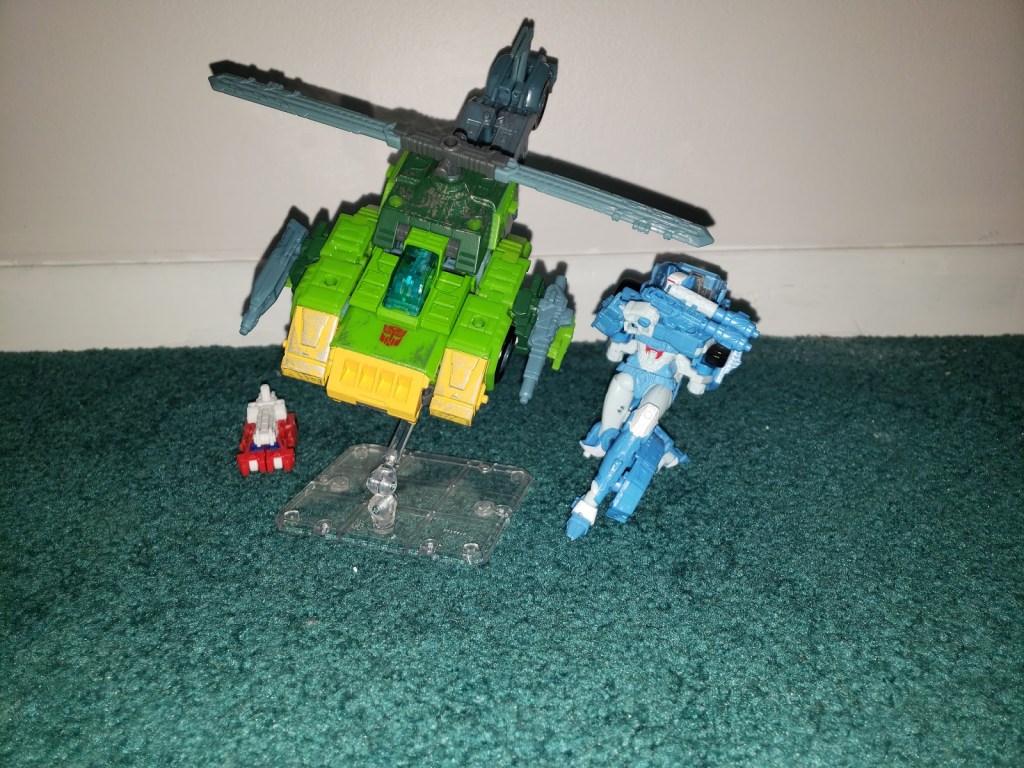
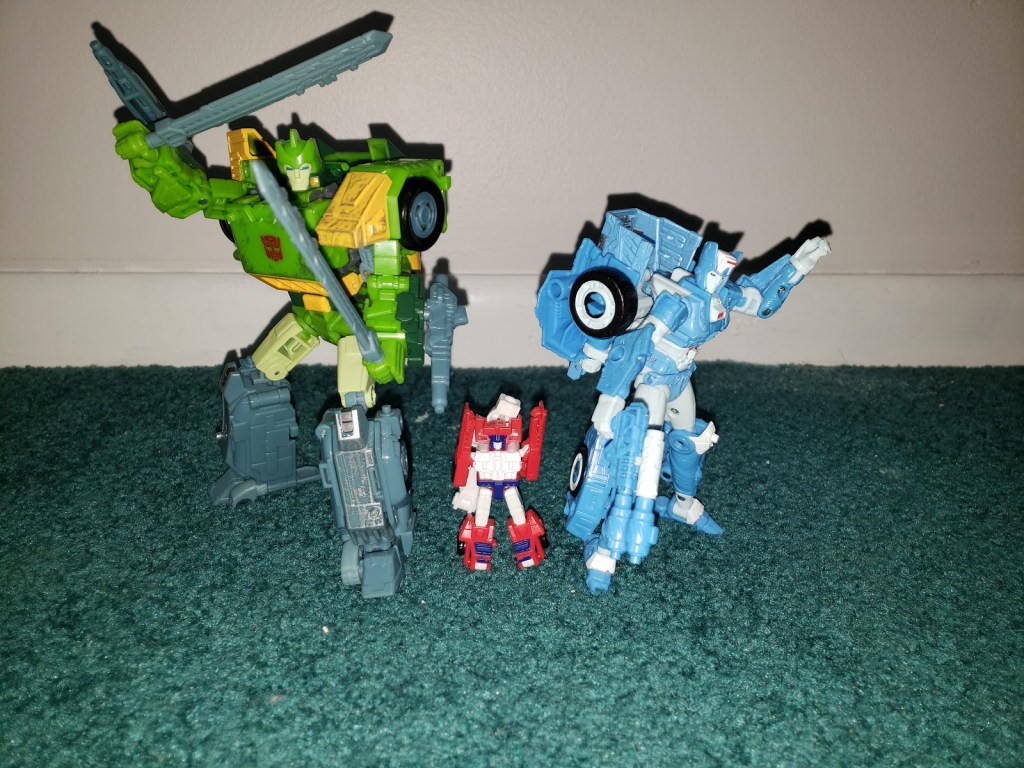
On top of that, Carl also took some awesome pics of his Siege figures to help demonstrate how to play turn by turn, so enjoy!
editor’s note
Here’s the last bit from me before we get to Carl’s words. Carl’s purpose in writing this article and putting it out there is to inform potential opponents about the deck, how it works, and what to use to fight against it.
“Specialist Escape” by Carl Endres AKA Technomagus

Deck List
Characters
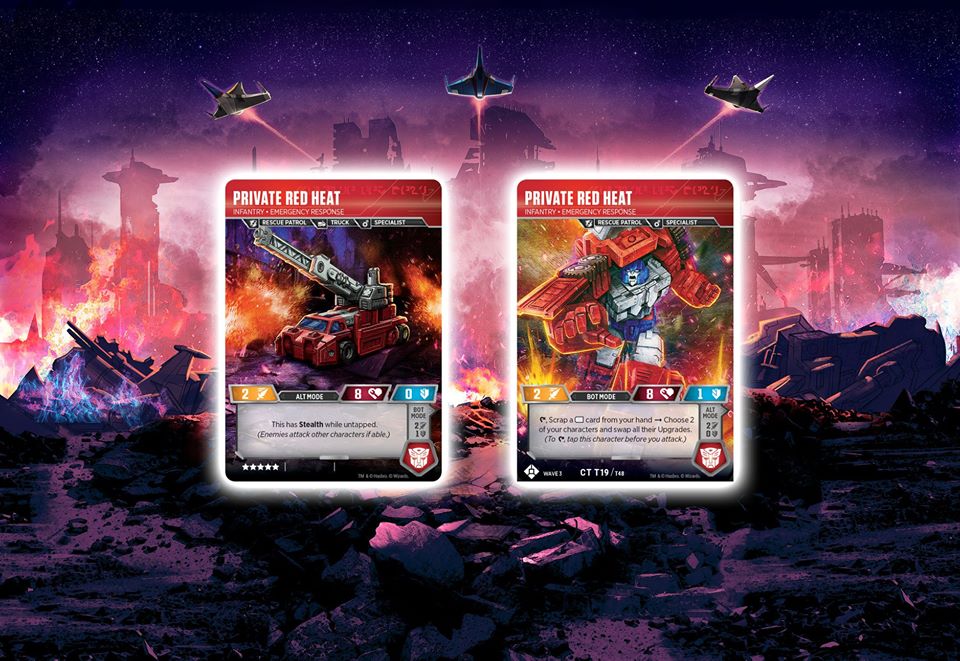
- Private Red Heat, Infantry – Emergency Response
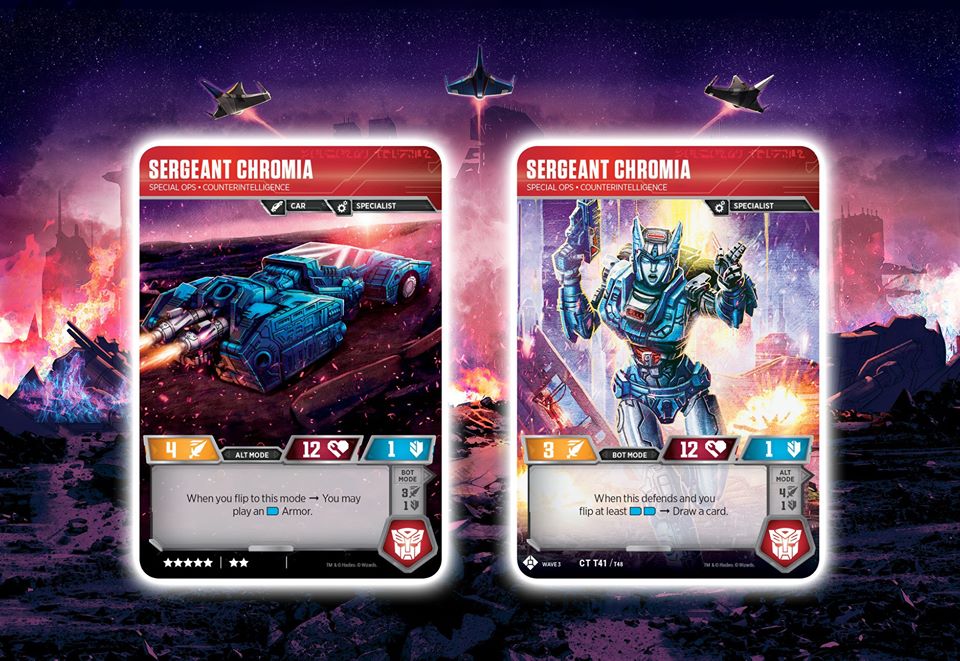
- Sergeant Chromia, Special Ops – Counterintelligence
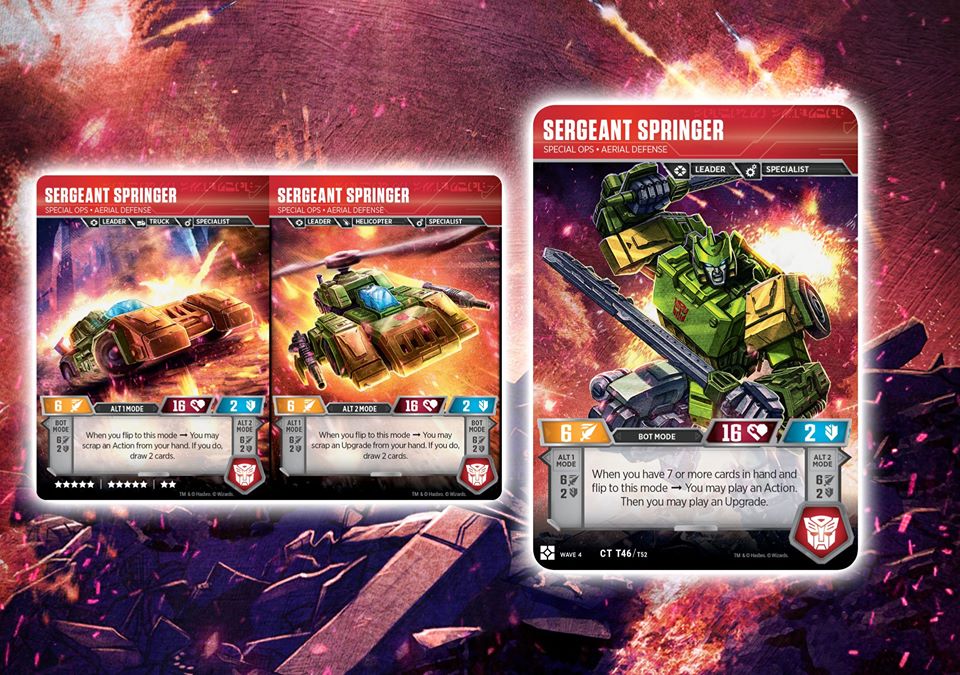
- Sergeant Springer, Special Ops – Aerial Defense
Actions
- 2x Hidden Fortification
- 3x Brainstorm
- 2x Confidence
- 2x Daring Escape
- 3x Diagnosis
- 3x Equipment Enthusiast
- 1x Leap of Faith
- 3x Pep Talk
- 3x Showing Off
Upgrades
- 3x Handheld Blaster
- 3x Multi-Tool
- 3x Extra Padding
- 3x Multi-Mission Gear
- 3x Field Communicator
- 3x Kinetic Converter
Sideboard
- Nemesis Prime, Dark Clone
- 1x Hidden Fortification
- 2x Sabotaged Armaments
- 2x Sparring Gear
- 2x Sturdy Cover
- 3x Vaporize
Introduction
Welcome to Specialist Escape featuring Springer. Like the Specialist Combo boogeyman of old, this deck seeks to win the game in “One Big Turn”© by chaining plays thanks to Brainstorm, Specialist gear, and Springer’s Bot Mode trigger. The first two turns are spent filling your hand and setting up for the turn three win. This deck is not for the faint of heart, and requires an intimate understanding of trigger timing and sequencing in the Transformers TCG, but I estimate this deck has about a 70%+ win rate by turn three, and is almost guaranteed to win the game on turn four.
Cards in the deck fall into three categories: Draw, Cheat, and Fodder.
Draw
- Confidence
- Diagnosis
- Equipment Enthusiast
- Pep Talk
- Kinetic Converter
These cards are used to fill your hand, getting you closer to that Daring Escape win. Obviously, Equipment Enthusiast should be saved for as late as possible, since it’s your biggest draw effect. Confidence also doubles as a Cheat, since it allows you to “rebuy” your action. Just be aware that Confidence puts you down one or two cards, since you have to discard to its primary effect. Diagnosis is normally a fodder card, but listed here because it can be used as a draw in a kind of emergency situation, as it is merely a cycle effect, spending one card to draw one. Kinetic Converter always goes on Springer, and allows for your truly explosive turns.
Cheat
- Brainstorm
- Confidence
- Leap of Faith
- Showing Off
- Multi-Tool
- Extra Padding
- Multi-Mission Gear
- Field Communicator
These are your “engine” cards, cards that make the deck work. Brainstorm, Confidence, and Multi-Mission Gear allow you to chain many actions, letting you play multiple draw effects so that you can burn through your deck as quickly as possible. Multi-Tool lets you dump a hand full of Upgrades among your characters, fueling even bigger Equipment Enthusiasts. Extra Padding is basically a more limited Multi-Tool, playing more copies of itself, and is also a vital component of keeping Red Heat alive long enough to survive a failed turn 3 Escape. Leap of Faith and Field Communicator are your “Hail Mary”s, playing the top card of your deck when you’re about to stall out to try and keep the plan going. Finally, Showing Off, in combination with Field Communicator, is one of the main engines that makes the deck work, allowing you to flip Springer multiple times in a single turn.
Fodder
- Hidden Fortification
- Daring Escape
- Diagnosis
- Handheld Blaster
- Extra Padding
While Daring Escape is the win condition of this deck, you actually never want to fetch it off the Green pip. You’ll be drawing so many cards, that you’ll get it naturally. These cards are in the deck primarily to feed Springer’s alt modes for more cards, though Extra Padding can be used to fuel gigantic 11-card Equipment Enthusiasts. Diagnosis’s primary use is to feed Red Heat’s “Swap Parts” tap ability, but can be used in a pinch for a card draw and occasional heal if you have nothing better to do. Fortification is another card you play in case of a fizzle to try and stay alive for one more turn to guarantee the win the next untap.
How to Play
Turn 1
This deck has an incredibly linear play pattern, especially for the first two turns, but that’s par for the course for an all-in combo deck. Your first turn is to always transform Chromia and send her in. This is generally the only time you can force an attack into Chromia, and you want to trigger her draw trigger on the defense. With 19 Blue-pipped and 13 White-pipped cards, there’s a high possibility that you will flip two Blue cards and trigger Chromia’s Bot mode ability to draw an additional card. It’s not the end of the world if it doesn’t happen, but it makes things a lot easier. If you flip any Extra Paddings, feel free to exchange any fodder cards for one. Don’t worry about fetching Daring Escapes, as you’ll have plenty of time to draw into them over the next two turns.
Turn 2
First, if you have a Kinetic Converter, staple it to Springer like there’s no tomorrow. If you don’t have a Converter, but you do have a Showing Off, play that instead. If you have both, you might just win the game this turn. If you have neither, play a Pep Talk first to try and draw into one. Failing all of that, transform Springer into Copter Mode, pitch a Fodder upgrade or an extra Specialist upgrade that’s not Multi-Tool, and draw two cards. At this point, you should dump any Specialist gear you have on Red Heat, and play any Pep Talks you may have. If you managed to get at least three upgrades out (two or more Multi-Tools/Field Communicators/Extra Paddings), go ahead and spend an Equipment Enthusiast, but don’t play it if it’s going to draw less than three cards. Do not spend any Brainstorms here, but you can spend a Showing Off on Springer if you have a second in hand or haven’t flipped any in battle yet.
Turn 3
Turn Three is the Daring Escape! At this point, you should have at least 6 or more cards in hand, several card draw Actions, and some Gear to dump. The first priority is to use your Specialist Gear to dump as many upgrades between Red Heat and Chromia. Try and sneak a Kinetic Converter onto Springer if you haven’t already. At this point, Transform Red Heat and pitch a White pip (preferably Diagnosis or a spare Converter) to Swap Parts between Red Heat and Chromia. A flurry of triggers then happen, at which point you need to use Brainstorms, Equipment Enthusiasts, Specialist Gear, and Leap of Faith to dump as many cards into play and/or your hand as possible. If a Leap or Communicator reveals a Daring Escape, however, DO NOT play it unless it will immediately win you the game. You can’t risk a vital card getting KOed early.
It’s a little difficult to simply describe sequencing for the third turn, because a large number of things will be happening that turn, and there’s a lot of variations to how you can play everything out. The main goals are to dump as many upgrades into play as possible, with all three Extra Paddings on a single character (ideally Red Heat), so that you can fuel a massive eleven-card Equipment Enthusiast. Any Showing Offs should be spent on Springer, to flip him to and from Bot Mode as much as possible. An important thing to note is that you must have seven cards already in hand before flipping Springer to Bot Mode in order to trigger. You cannot rely on Kinetic Converter and his Alt Mode triggers to draw into the required number of cards. Also, keep in mind that Daring Escape will KO two (if Chromia got KOed on turn two) or three (if Chromia is still up) when played, so if you can get your remaining deck and Scrap Pile to six or fewer cards, you can just chain your Daring Escapes off of a Brainstorm to immediately win.
As mentioned before, with a perfect draw, it is possible to use Kinetic Converter with Showing Off on Springer to win the game on your second turn, instead of the third. However, it requires a very specific sequence of draws, and chaining all three Showing Offs in a single turn. While you might not be able to guarantee a turn two win this way, you can absolutely guarantee a turn three win if this happens.
Weaknesses

Of course, despite how fast the deck is, it is not without weaknesses. Firstly, this deck CANNOT beat Private Turbo Board. Full stop. You won’t be able to deal enough damage to KO him on turn 1, and any deck can do more than enough to protect Turbo Board and keep you from being able to whittle away his 12 health.

Nightbird is a nonissue. Despite the fact that you will be vomiting actions until the cows come home, you have over 30 total health to work with, and can easily spare a few points on Springer or Red Heat before Nightbird becomes an issue.
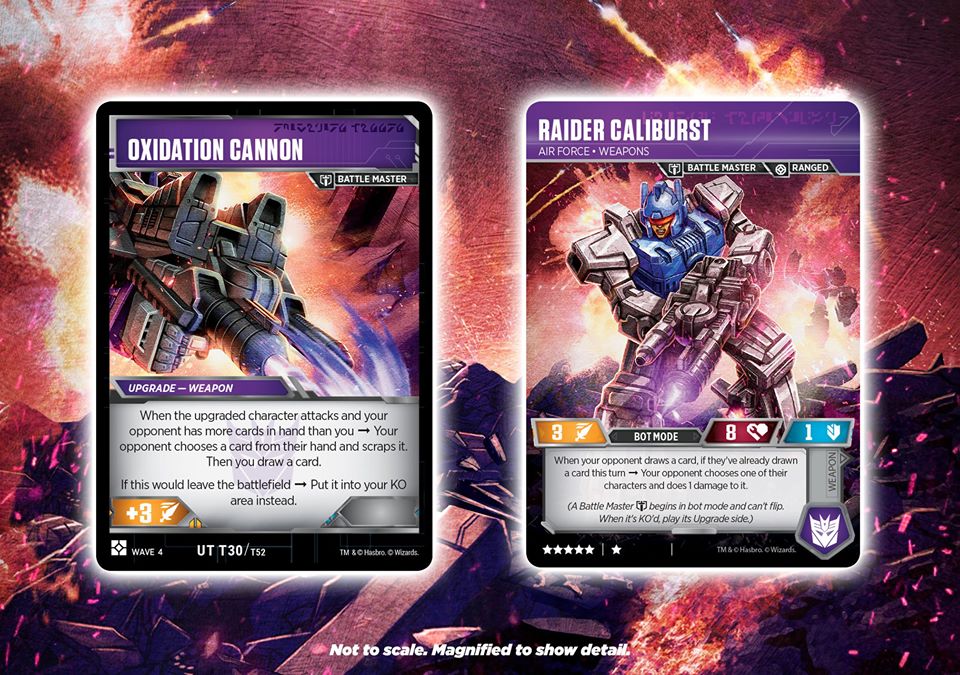

Caliburst and Hijack are more problematic. You can’t win if a Hijack was set, since you can’t draw cards at all. Test for a Hijack by flipping a character with a Kinetic Converter or using a Pep Talk. Caliburst is also dangerous, since you will be drawing a large number of cards during your critical mass turn, easily in excess of 30, so you might not be able to win if Chromia or Springer take too heavy hits.

Lord Megatron by himself is also a nonissue, as you’ll only reshuffle your deck 2-3 times on the final turn, and have more than enough health to survive a few hits, provided his attack isn’t increased too much.
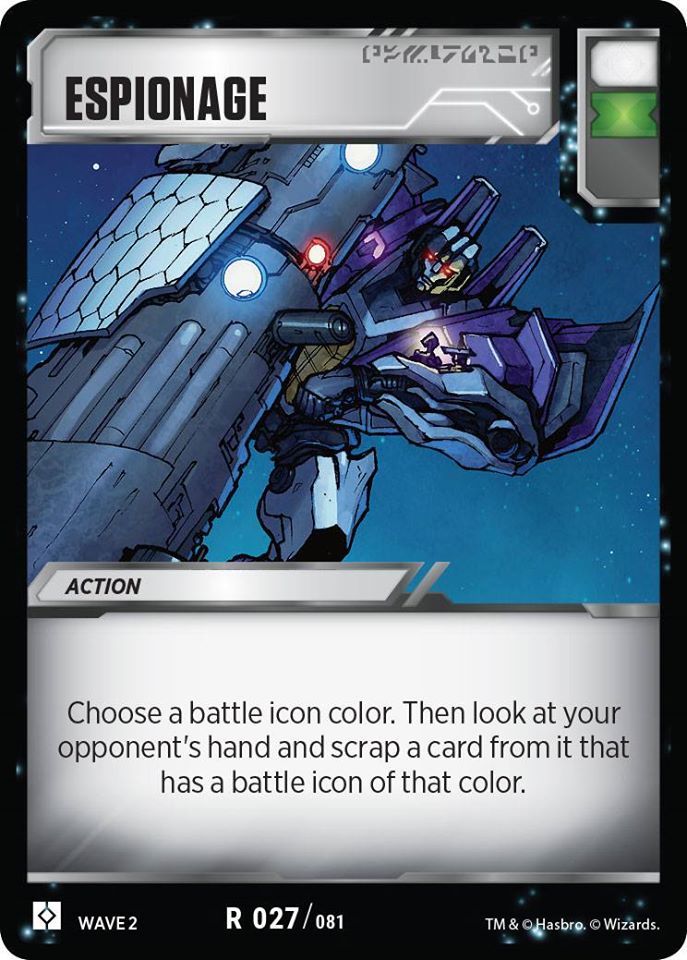

Espionage and Sentinel Mirage hurt, but there are a large number of cards they need to snag at once to cripple the deck, and Springer does a good job at keeping your hand refilled, so you can quickly recover from such setbacks.

Jam Signals can also disrupt you by countering a key Blue action, or the Escape itself, so be very careful about running out of plays if you suspect one. Ideally, you’ll have enough plays and draws stocked up to recover from a Jam, but it could be catastrophic if you’re about to fizzle.


Finally, there are three “hand reset” cards to watch out for: Private Fixit, System Reboot, and Fog of War. Fog of War is nearly unbeatable due to resetting your hand to two cards, but the card is also off the radar, so it’s probably not something to worry about too much. System Reboot and Fixit, on the other hand, are a double-edged sword. Since it refreshes your hand to four new cards, there’s a high possibility that you’ll simply draw into more combo cards and still be able to go off on the next turn, though it can get a bit dicey, either way.
sideboard

- Nemesis Prime, Dark Clone
- 1x Hidden Fortification
- 2x Sabotaged Armaments
- 2x Sparring Gear
- 2x Sturdy Cover
- 3x Vaporize
So how do you win against the hate like Turbo Board? That’s where the sideboard comes in. Chromia and Red Heat leave the battle, and in comes Nemesis Prime to just beat face. Diagnosis, Confidence, Daring Escape, and Multi-Mission Gear all get removed in favor of the entire sideboard being brought in. Basically transitioning from all-in combo to two-tall Blue beatdown. Showing Off is still useful both to draw cards with Springer, or to trigger Nemesis Prime’s Truck Mode without losing the chance to snag a card from a reshuffle while in Bot mode. You also gain some interaction with Vaporize and Sabotaged Armaments, allowing you to get rid of problematic Battle Masters or other upgrades. Sturdy Cover is another secret to help protect your reduced health total from heavy Pierce decks that will see more play thanks to Wave 4’s abundance of Black pips.
Once again, Carl deserves ALL credit for coming up with this deck, taking it through its paces, and writing up this article. If you’re not already paying close attention to his posts in the Transformers TCG communities, you definitely should be!

2 thoughts on “[Guest Article] “Specialist Escape” by Carl Endres AKA Technomagus”